I fell into the DIY keyboard rabbit hole, and I don't regret it!
Keyboards
Almost everyone uses keyboards in their day to day life. But very few curious minds go after making one on their own.
My keyboard journey started from a youtube video explaining about mechanical keyboards and their advantages over regular rubber dome keyboard. After a year of watching more videos, I decided to buy one for myself.
The first mechanical keyboard I bought is E-YOOSO Z-11 60% keyboard with Blue clicky switches and RGB lighting. I used it for over a year. I loved the small form factor and portability of this keyboard.
I didn’t stop there though. I kept on digging more into the mechanical keyboard world. That’s when I saw a unique keyboard called the ZSA Plank. It had a proper columnar layout. It brought a question into my mind.
Why are regular keyboards designed in this weird staggered layout everywhere?
I learned about how the first keyboards were typewriters and why this row staggered layout was designed to connect each keys to it’s mechanical levers. In the digital era, this row staggering is not required at all but it is kept that way because more people were used to using this layout. New users started learning to type with the same layout and eventually this became the most widely used keyboard layout.
I wanted to try out this layout but the Plank was costly. So I kept digging till I found my next craze.

This keyboard looked nothing like anything I have seen till that point in my life. It had split design that separated left and right hand keys and kept them at a shoulder length distance. It also made the user press space, backspace, and modifier keys(like Ctrl, Alt, Shift and Super key) with the strongest finger of the human hand. The Thumb. I liked this idea and instantly went to check it’s price online. I was heartbroken when I saw 54000 INR on amazon. I gave up my dream of owning one of these.
I wasn’t ready to give up yet. I kept searching and soon enough, I found it. The whole new world of Split-Ergonomic-Mechanical Keyboards.
There were lots of options to choose from. I was overwhelmed but I took it slow. I went through different types of keyboards and two of them caught my eye.
I wanted to build both, but since Ferris Sweep is cheaper to build, I decided to build that first.
Ferris Sweep
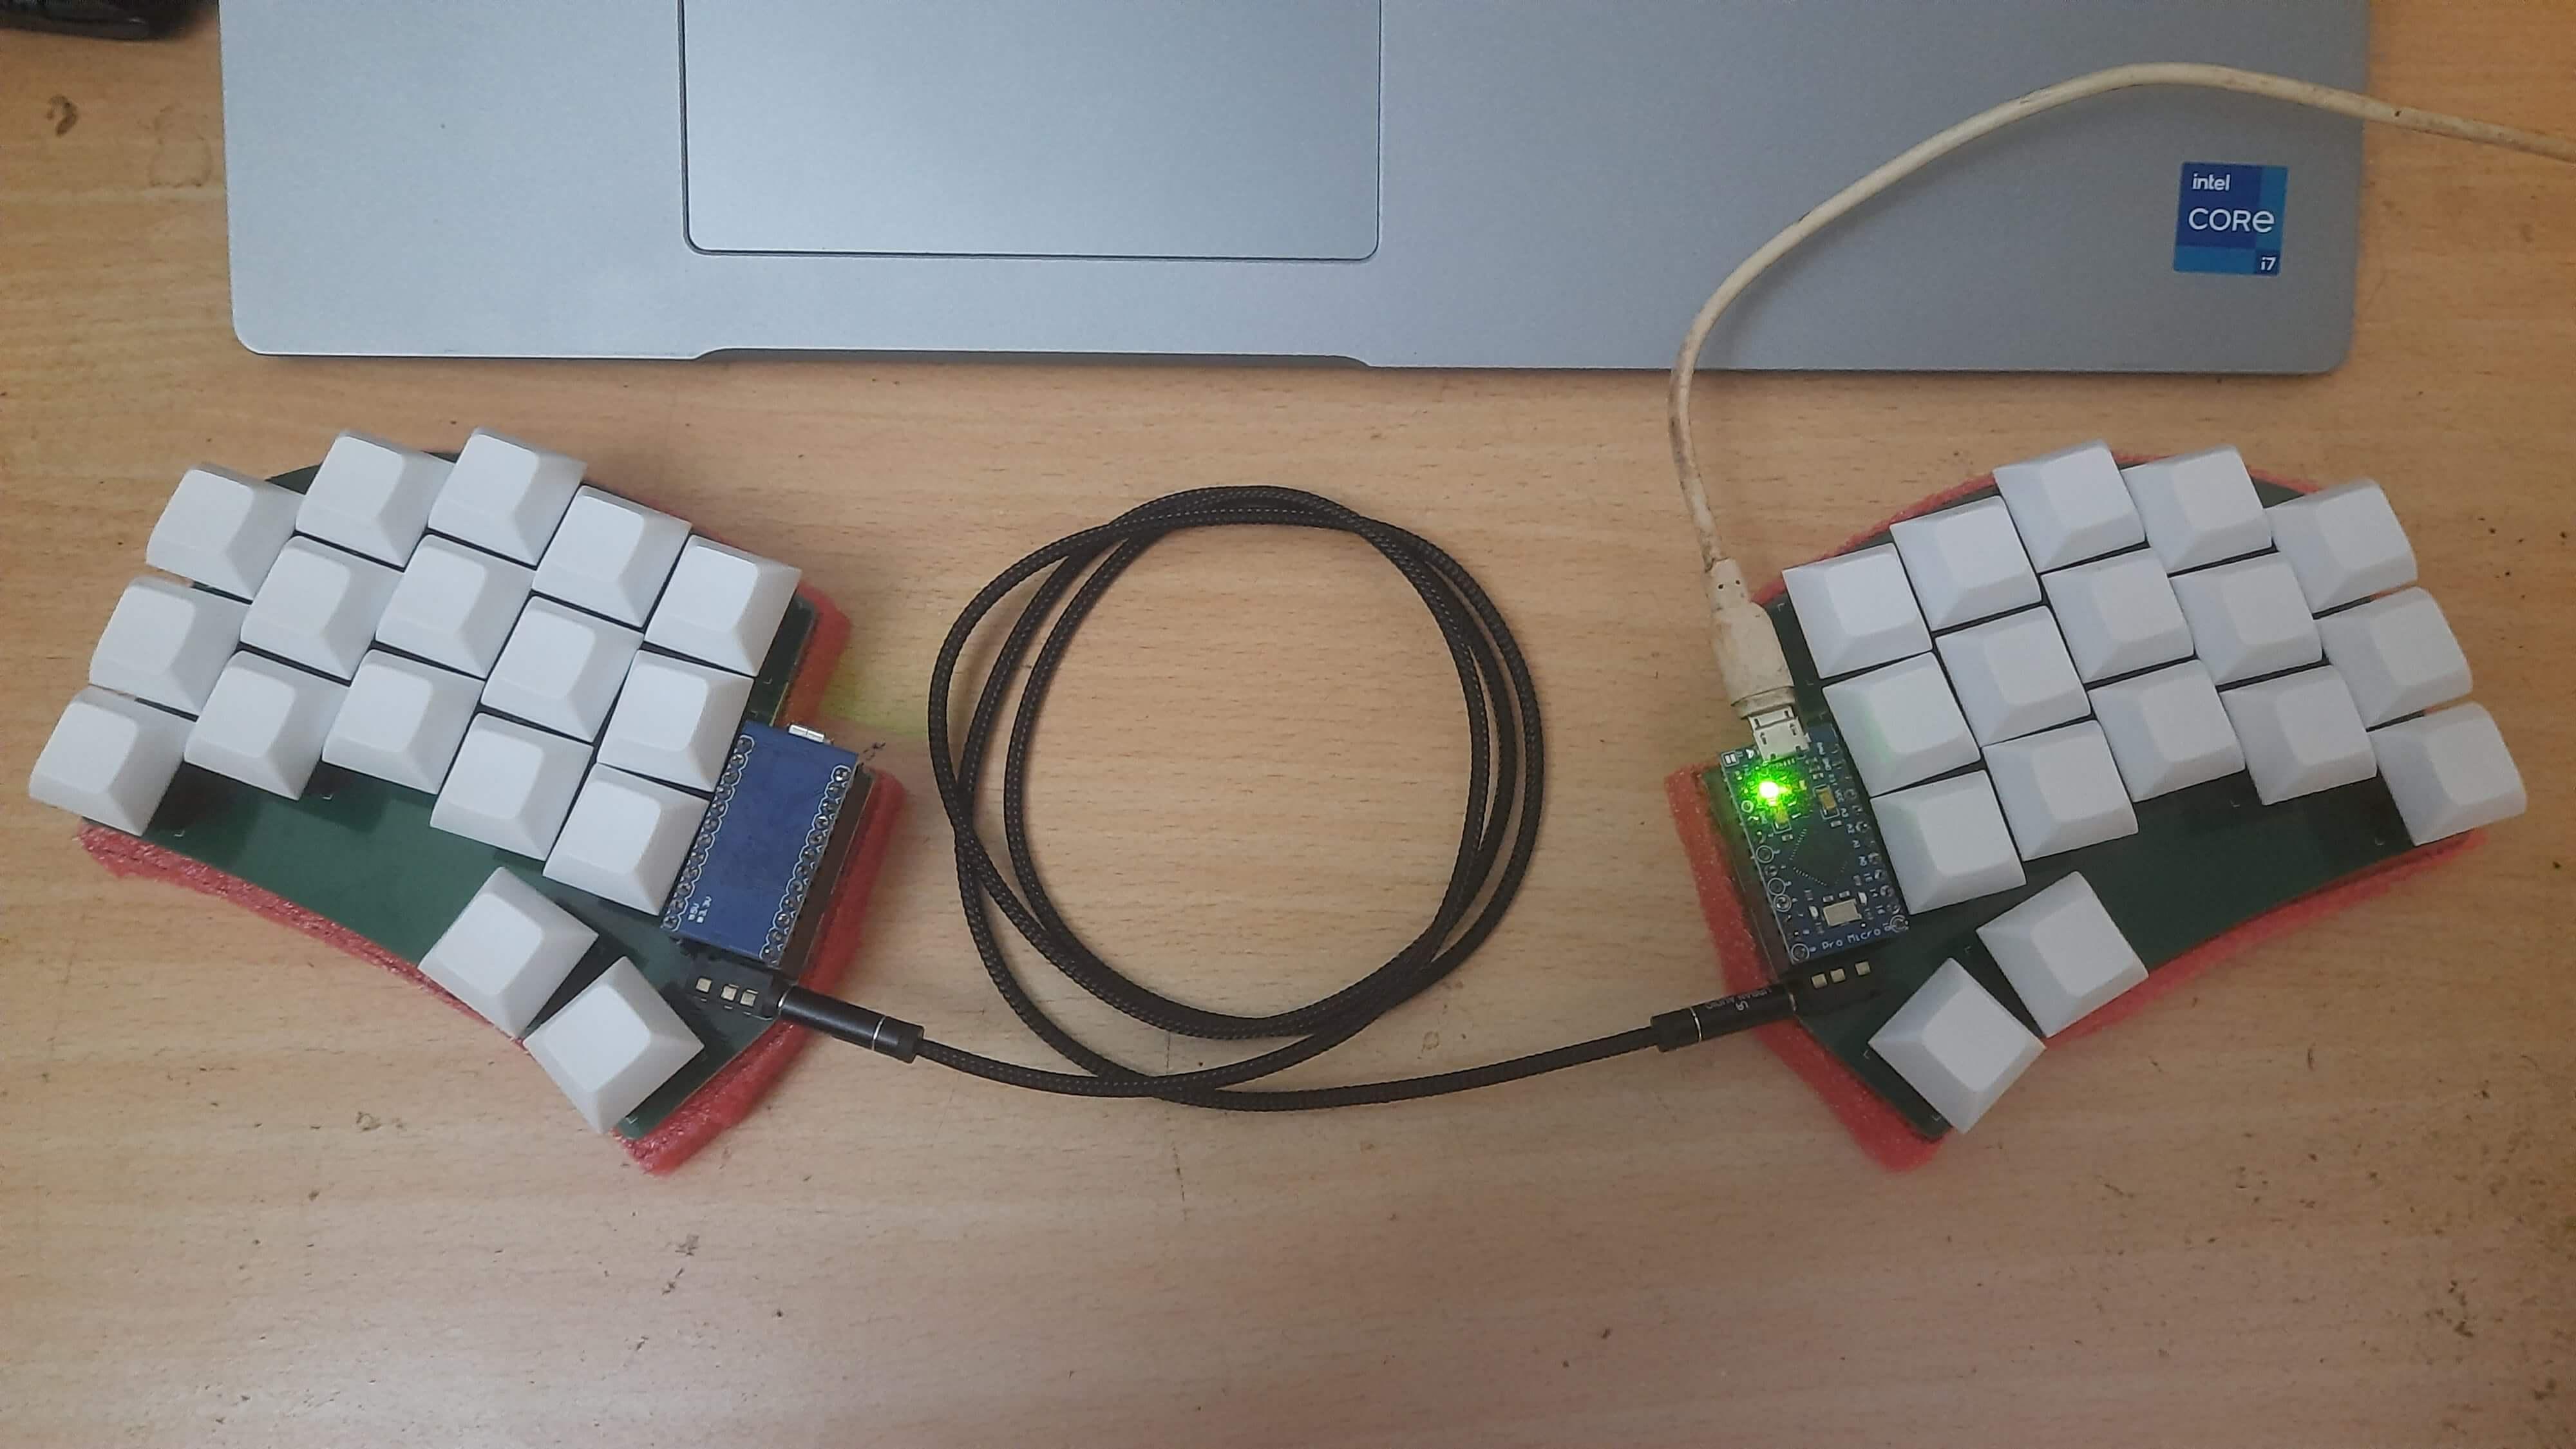
It was a 34 key split keyboard and the ability to program the keyboard made it possible to simulate more keys than a full size keyboard.
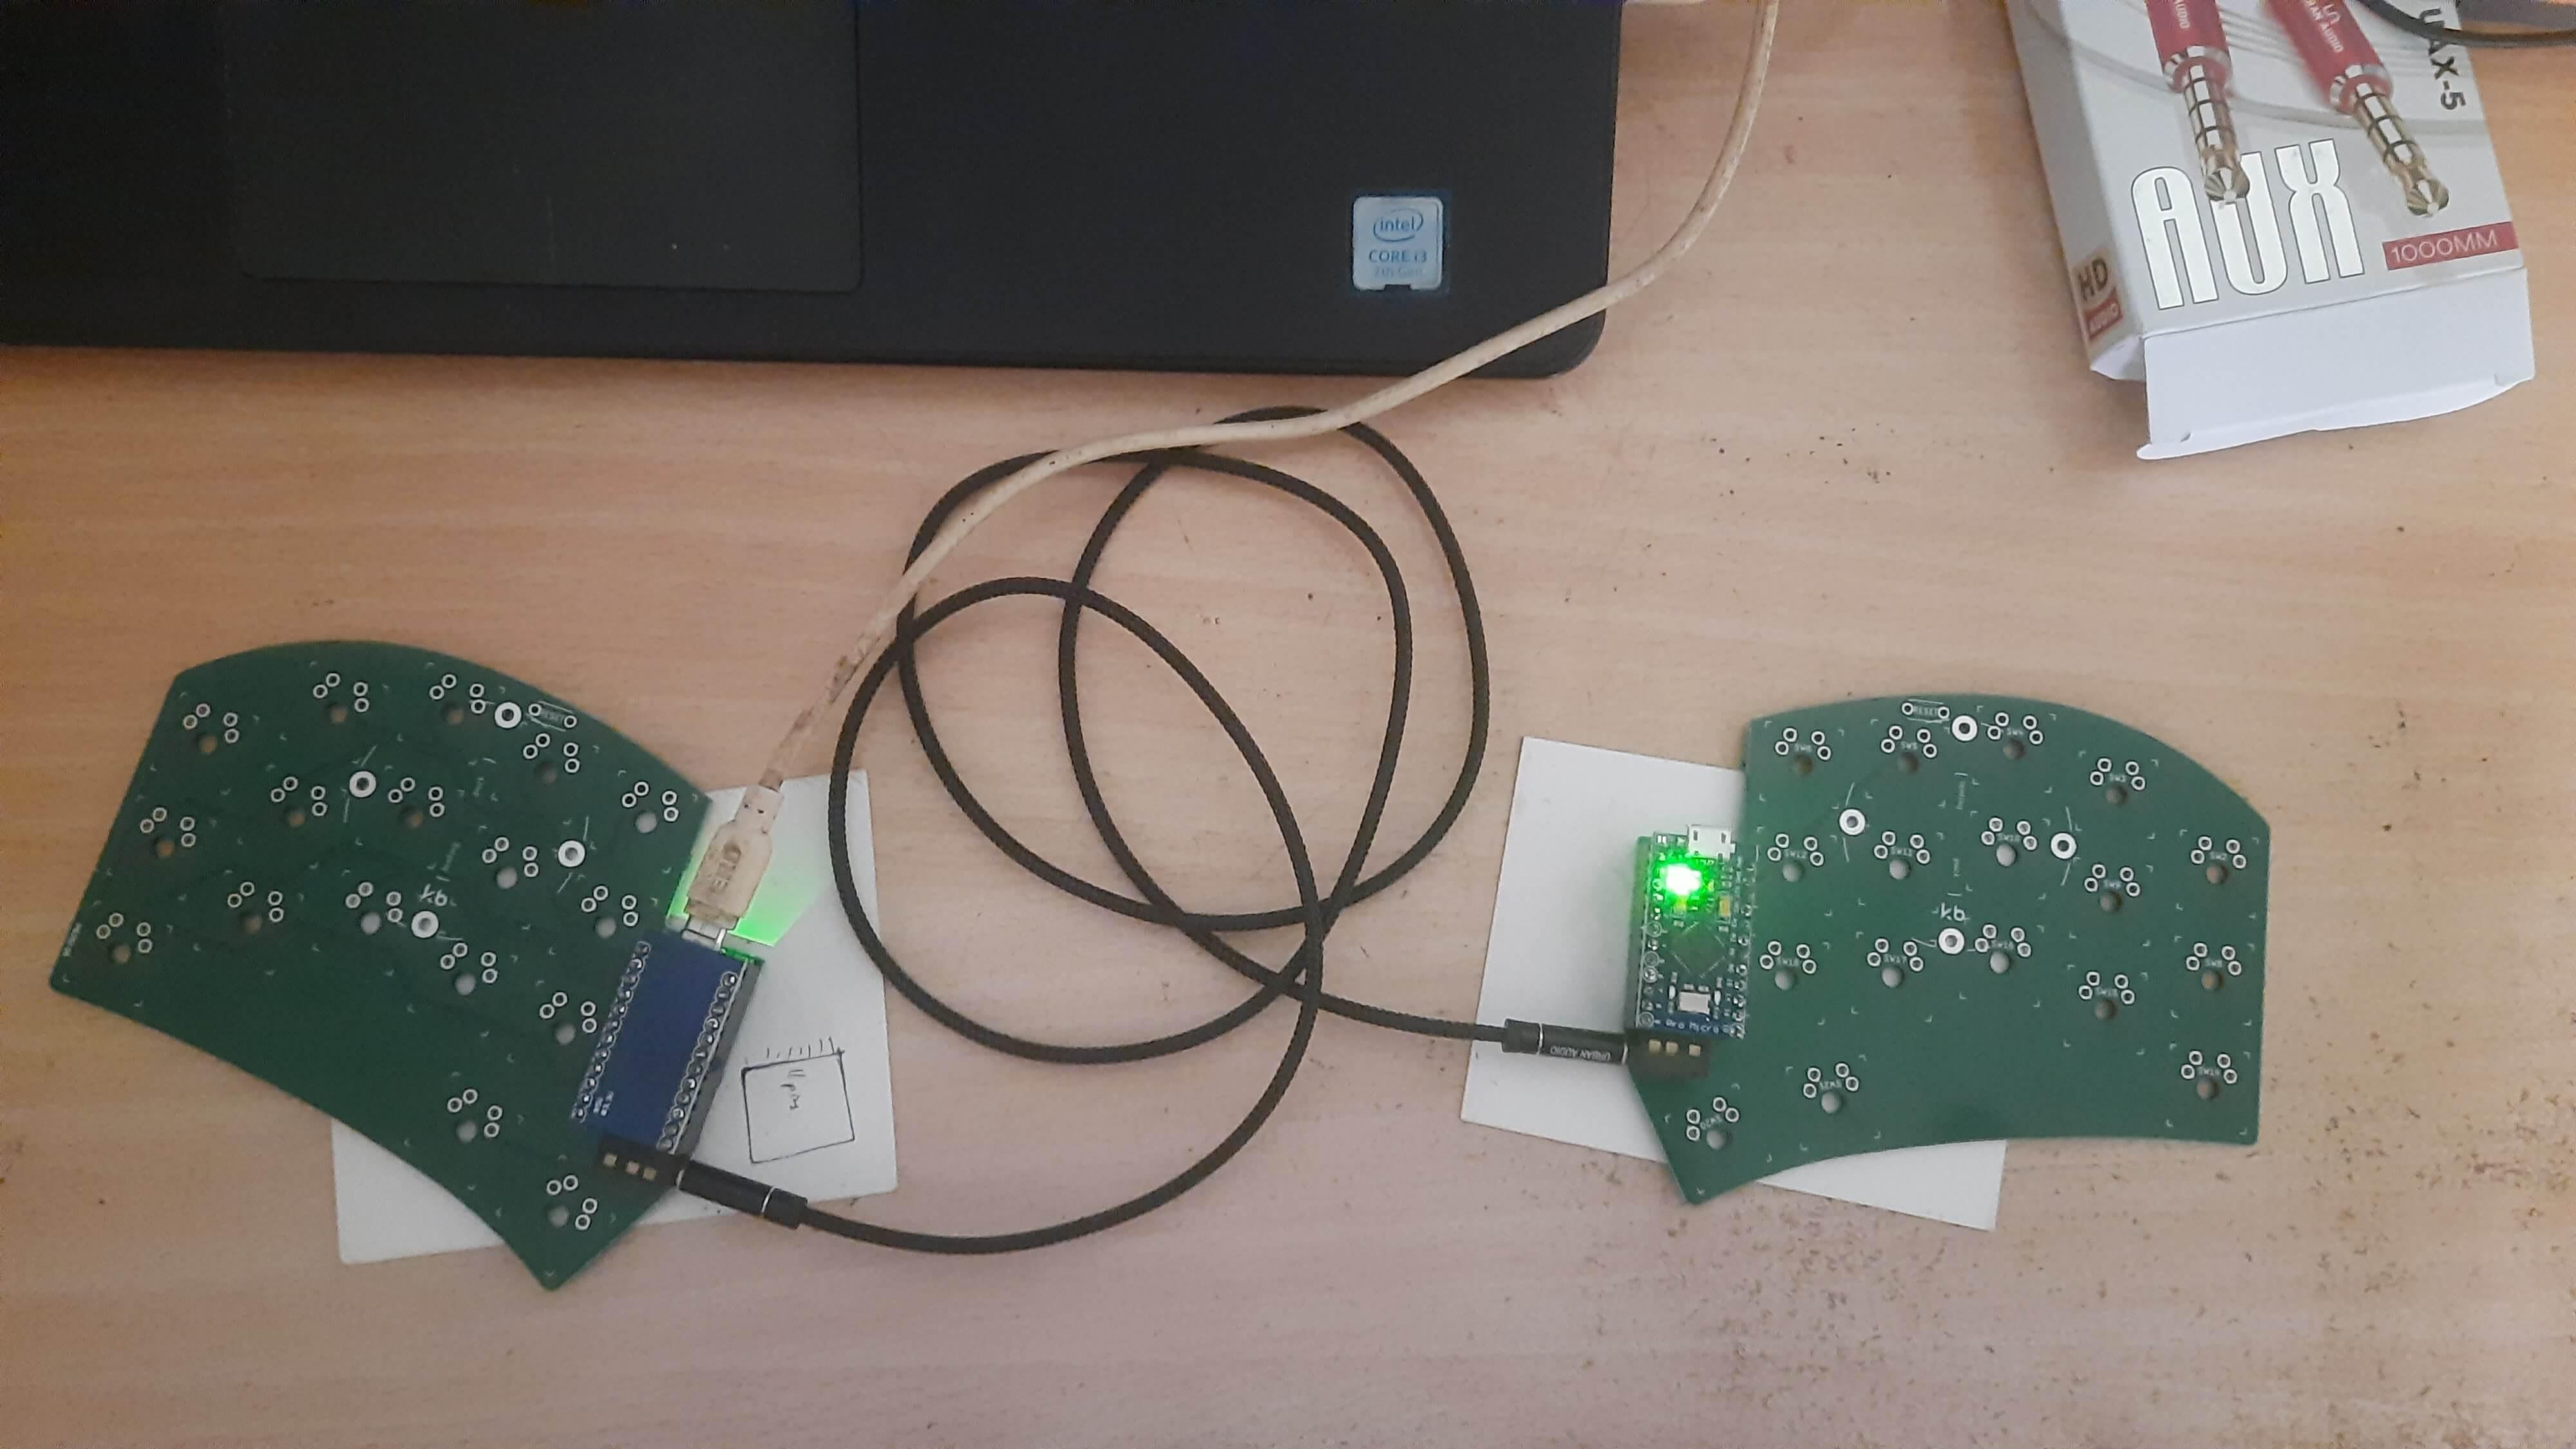
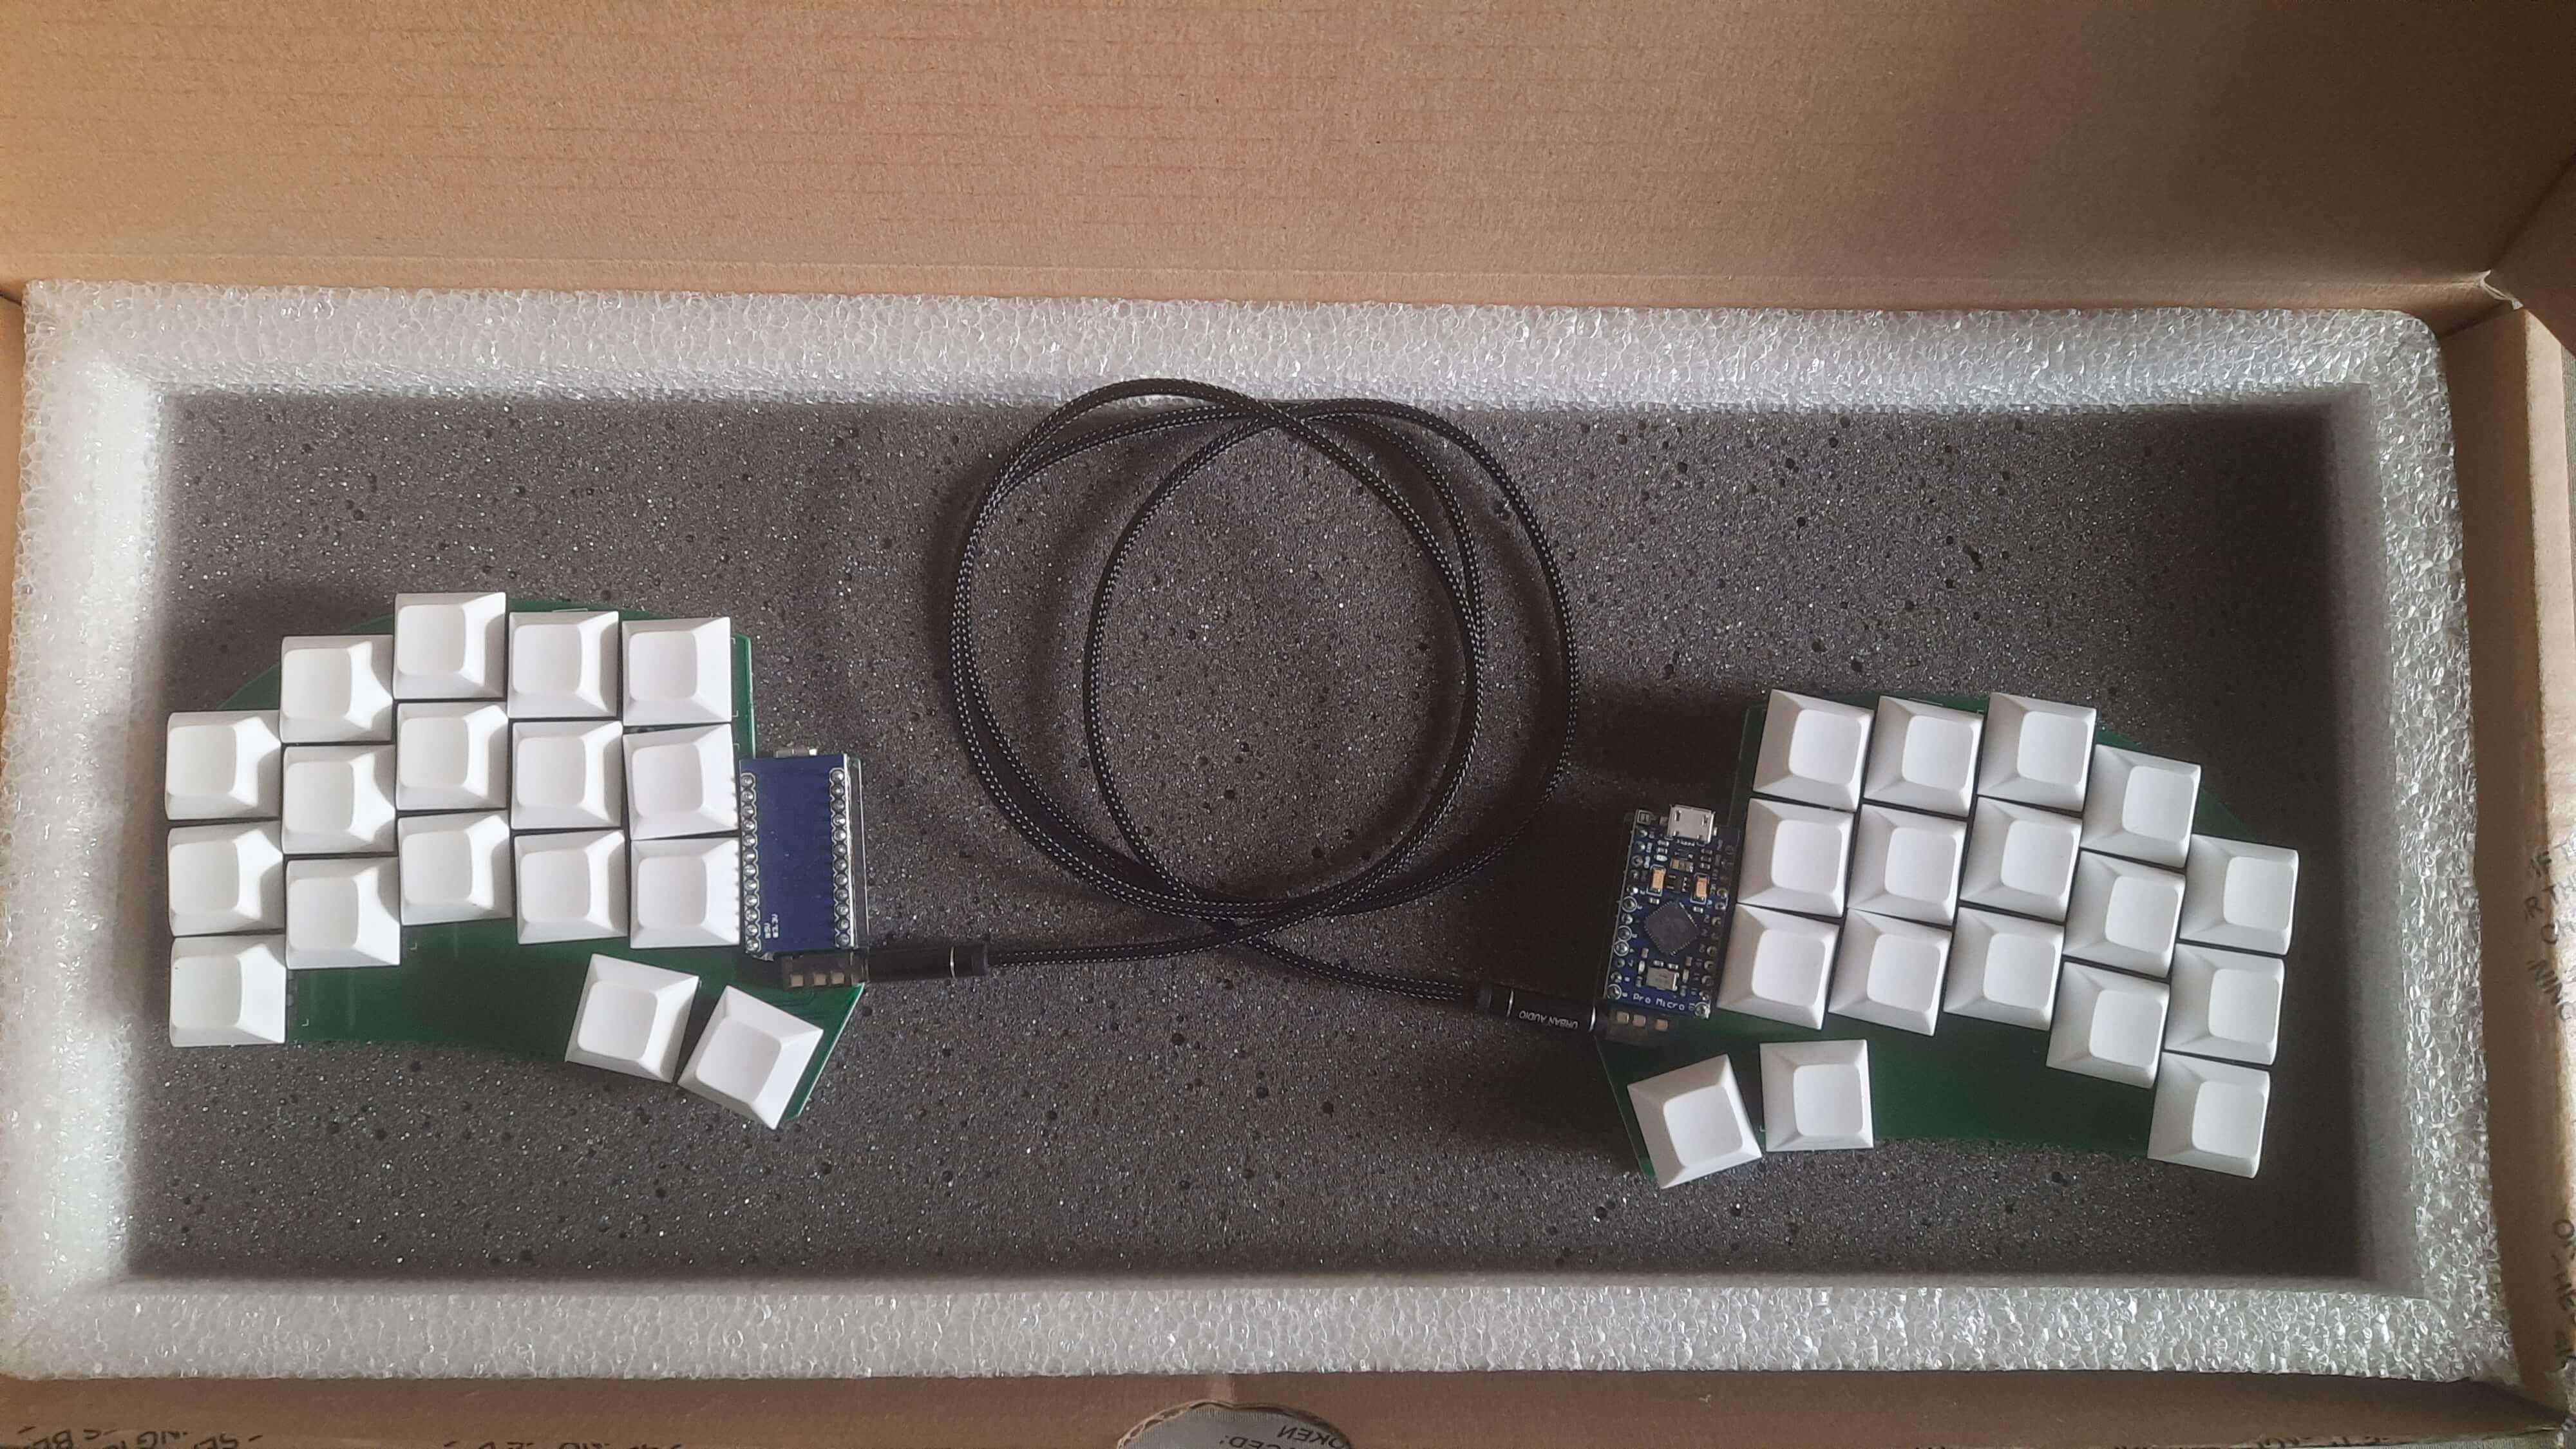
After hunting for parts for months, I decided to build the Ferris Sweep High M which used MX switches.
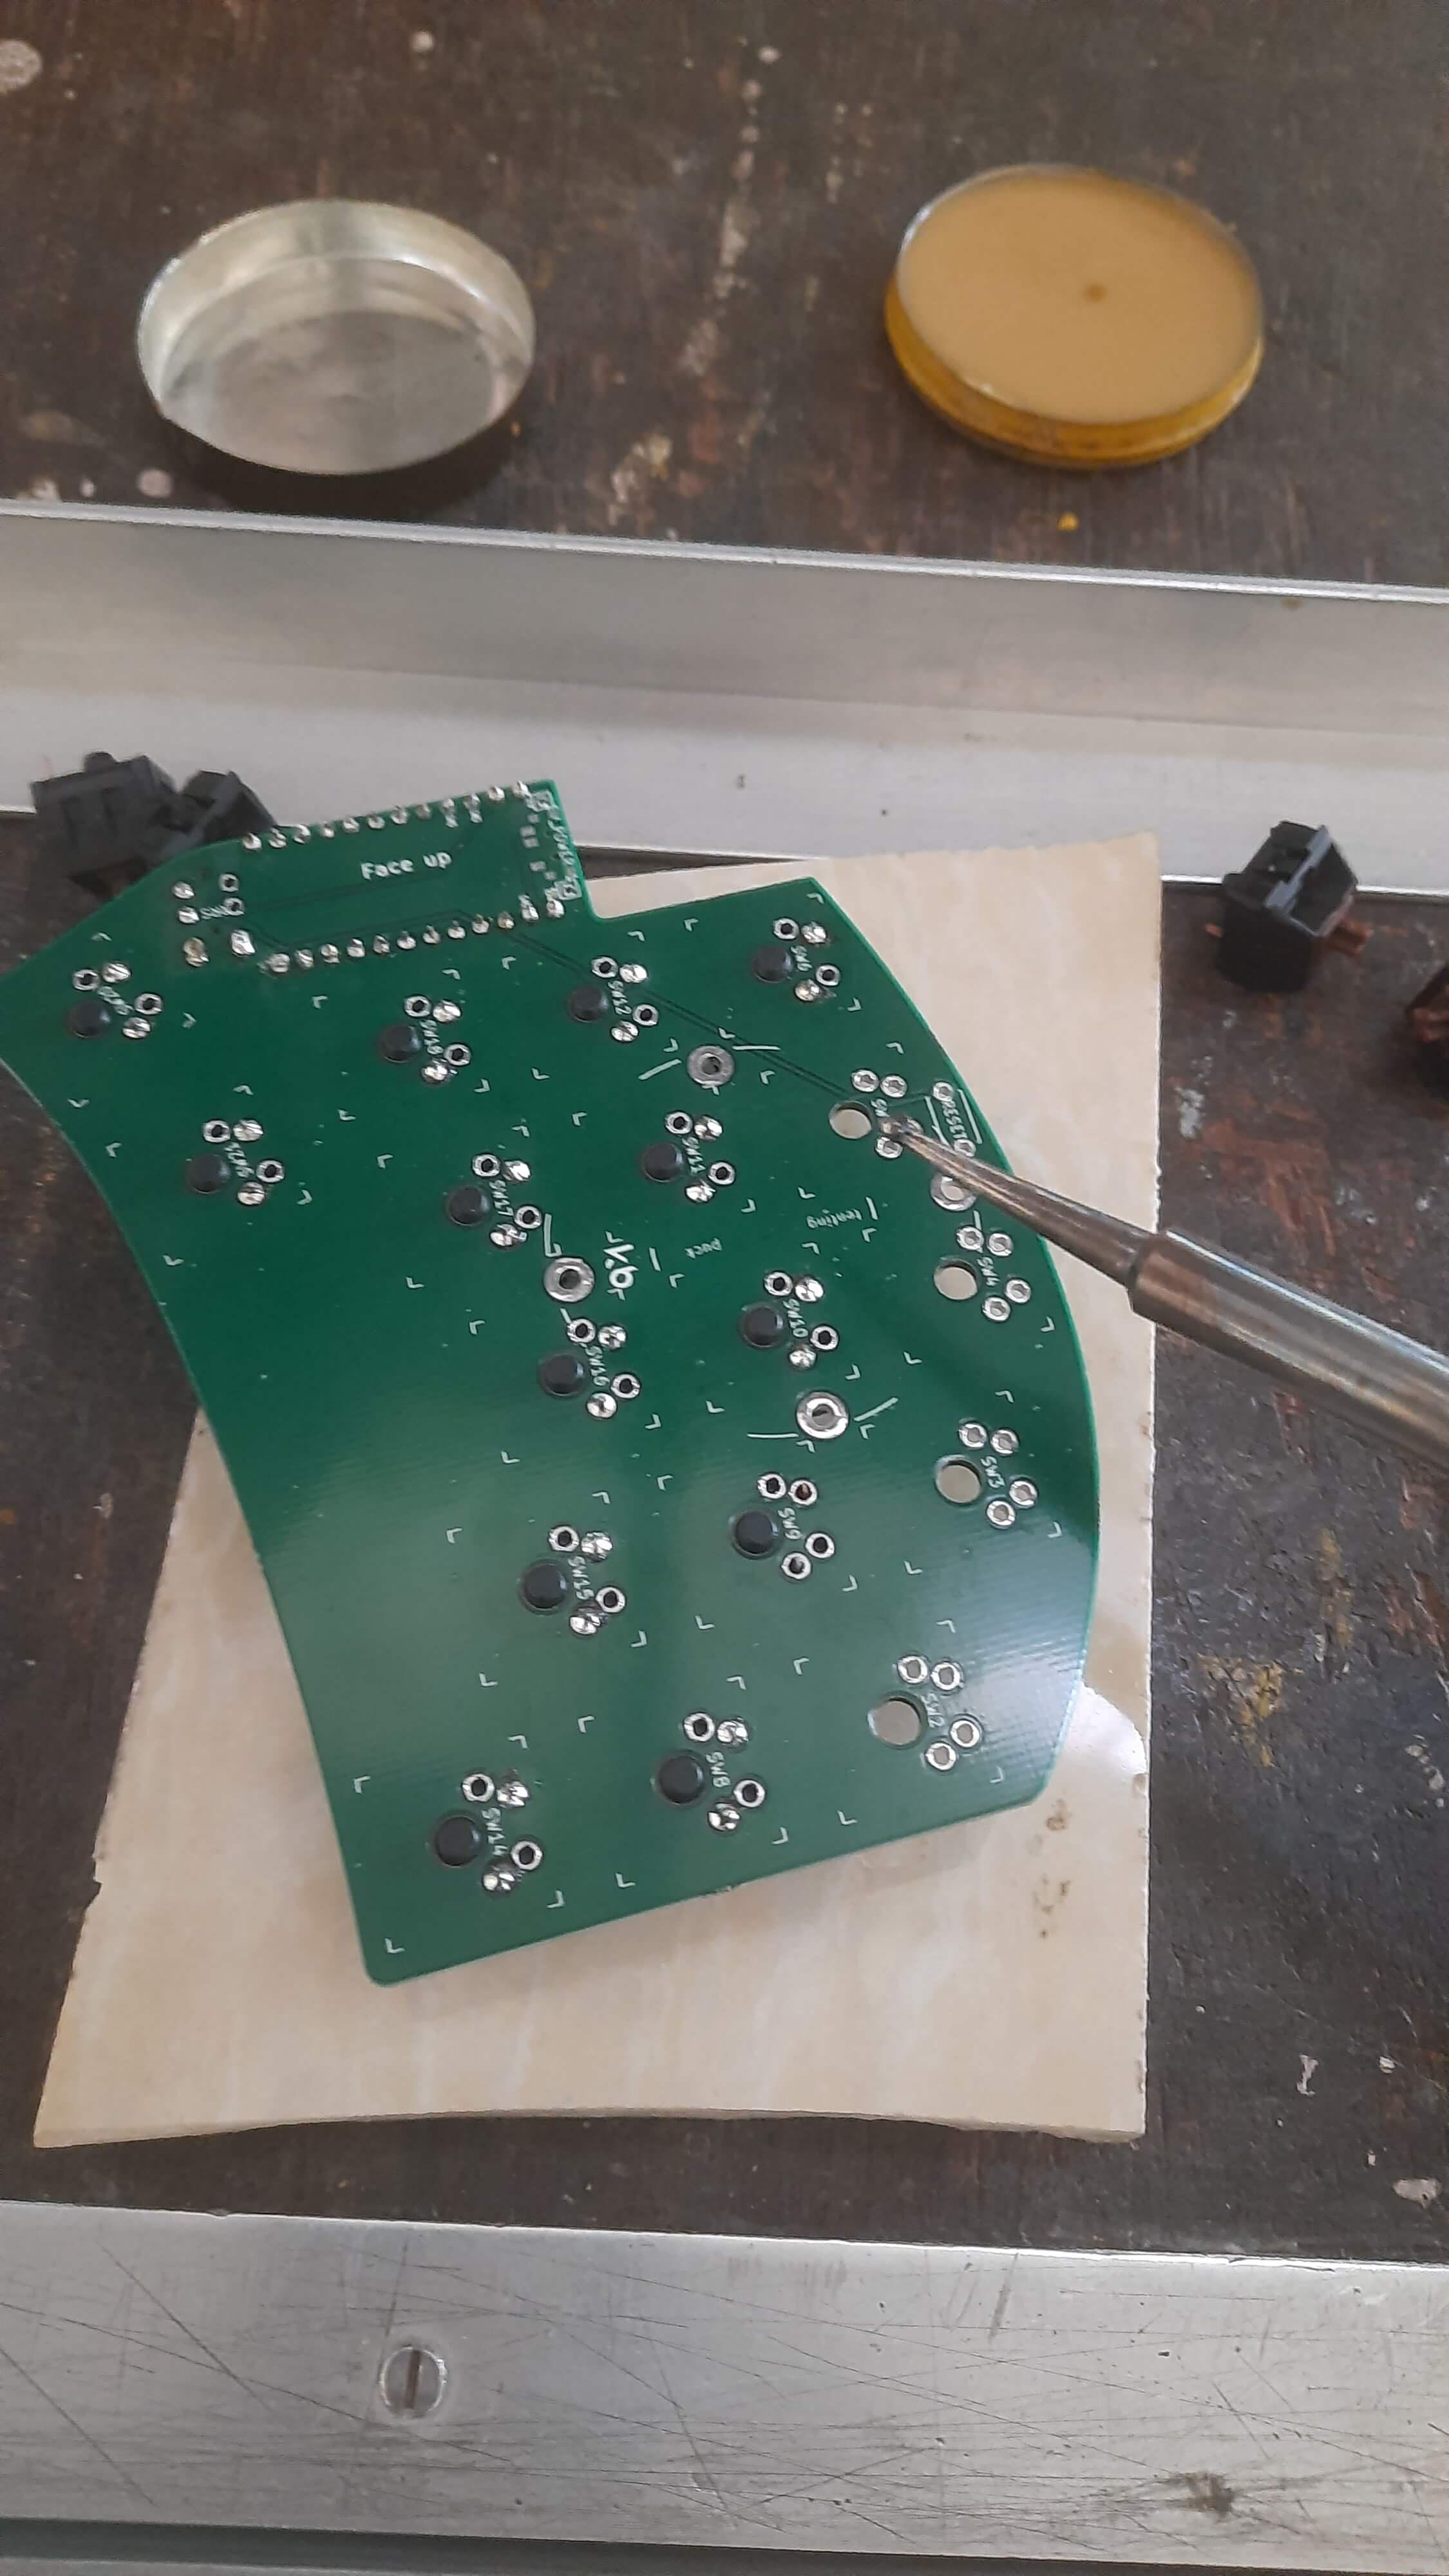
I printed the PCBs from pcbpower, bought the microcontrollers from probots, bought the switches and key caps from Meckeys and the necessary cables from the nearby electronics shop.
Soldering everything together wasn’t that hard and I finished it within three hours. After this, I used QMK firmware to flash my keyboard layout. I ditched QWERTY for a modern layout called Colemak-DHm. It had similarities to QWERTY but was way more effective and easier to type.
I’ve been using this for two weeks now and I love the feel of it. My typing speed plummeted to 20 wpm but I’m improving day by day. I am even writing this blog with this new keyboard at around 30 wpm.
Maybe if I get good enough, I’ll think about building a Dactyl Manuform next. And I highly recommend this keyboard for all the tinkerers out there.